CLOSE
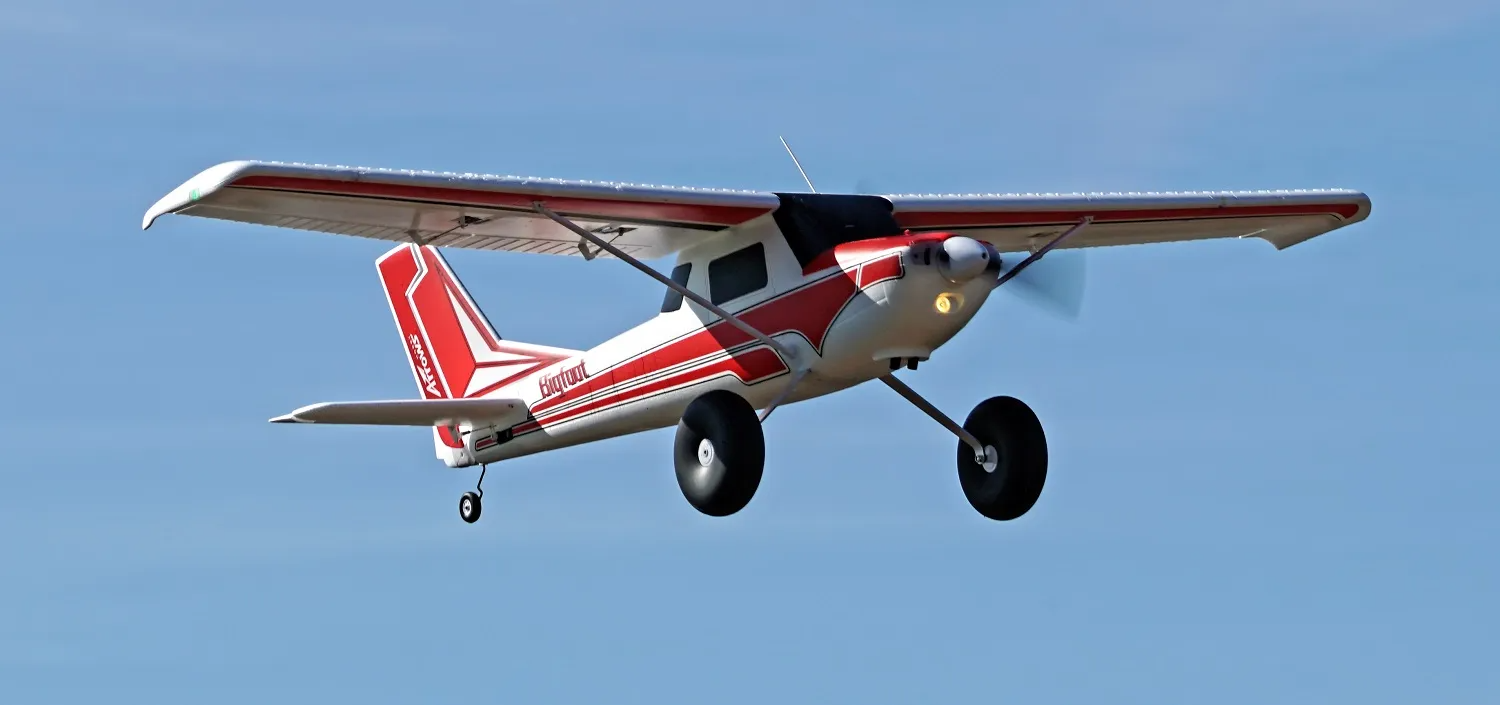
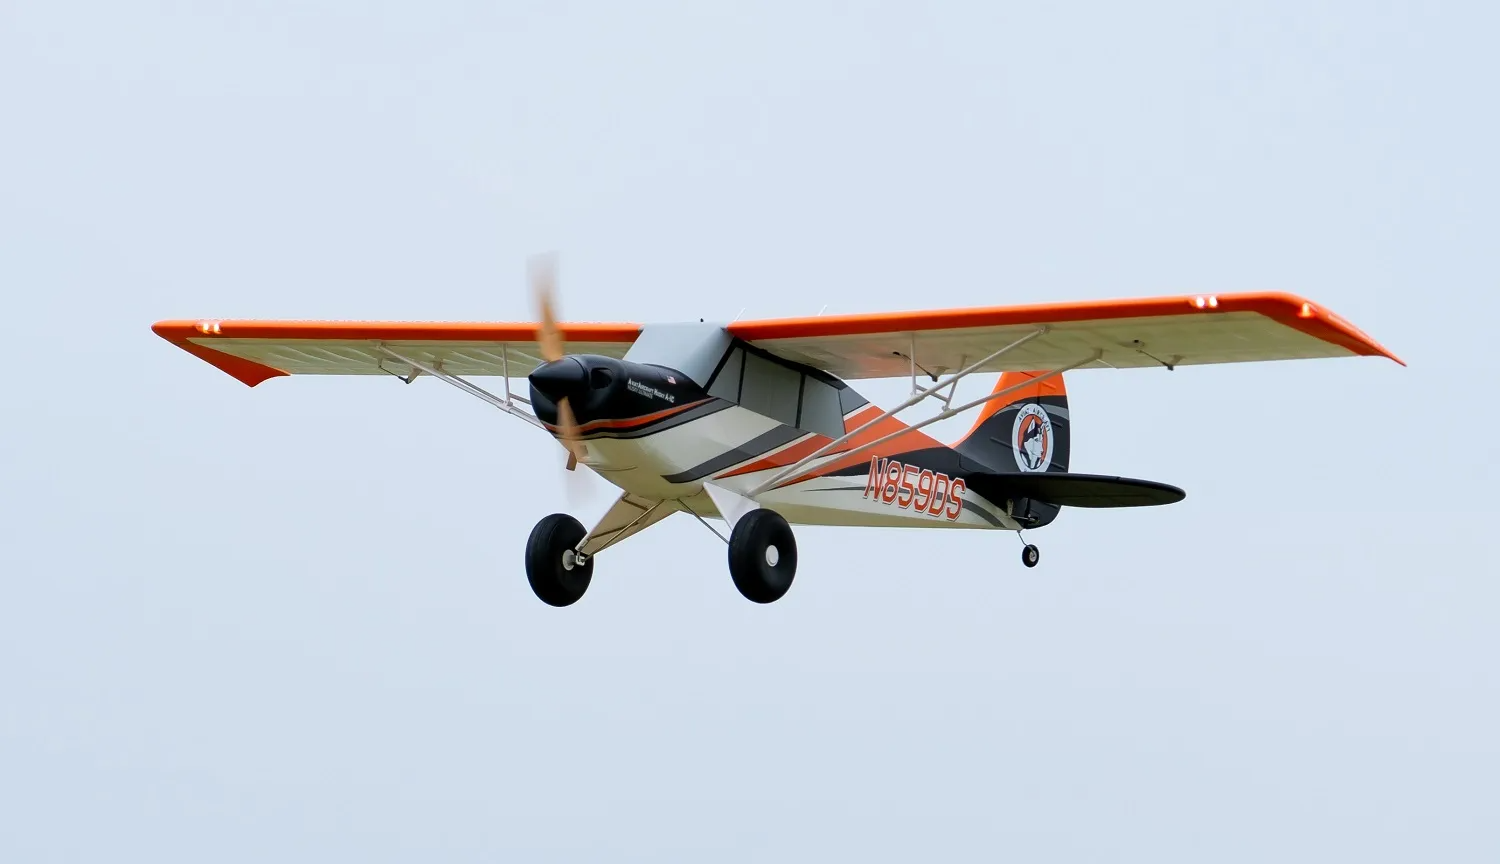
As a do-it-all multi purpose aircraft, the Arrows RC Bigfoot has amazing features found on a whole multitude of aircraft.
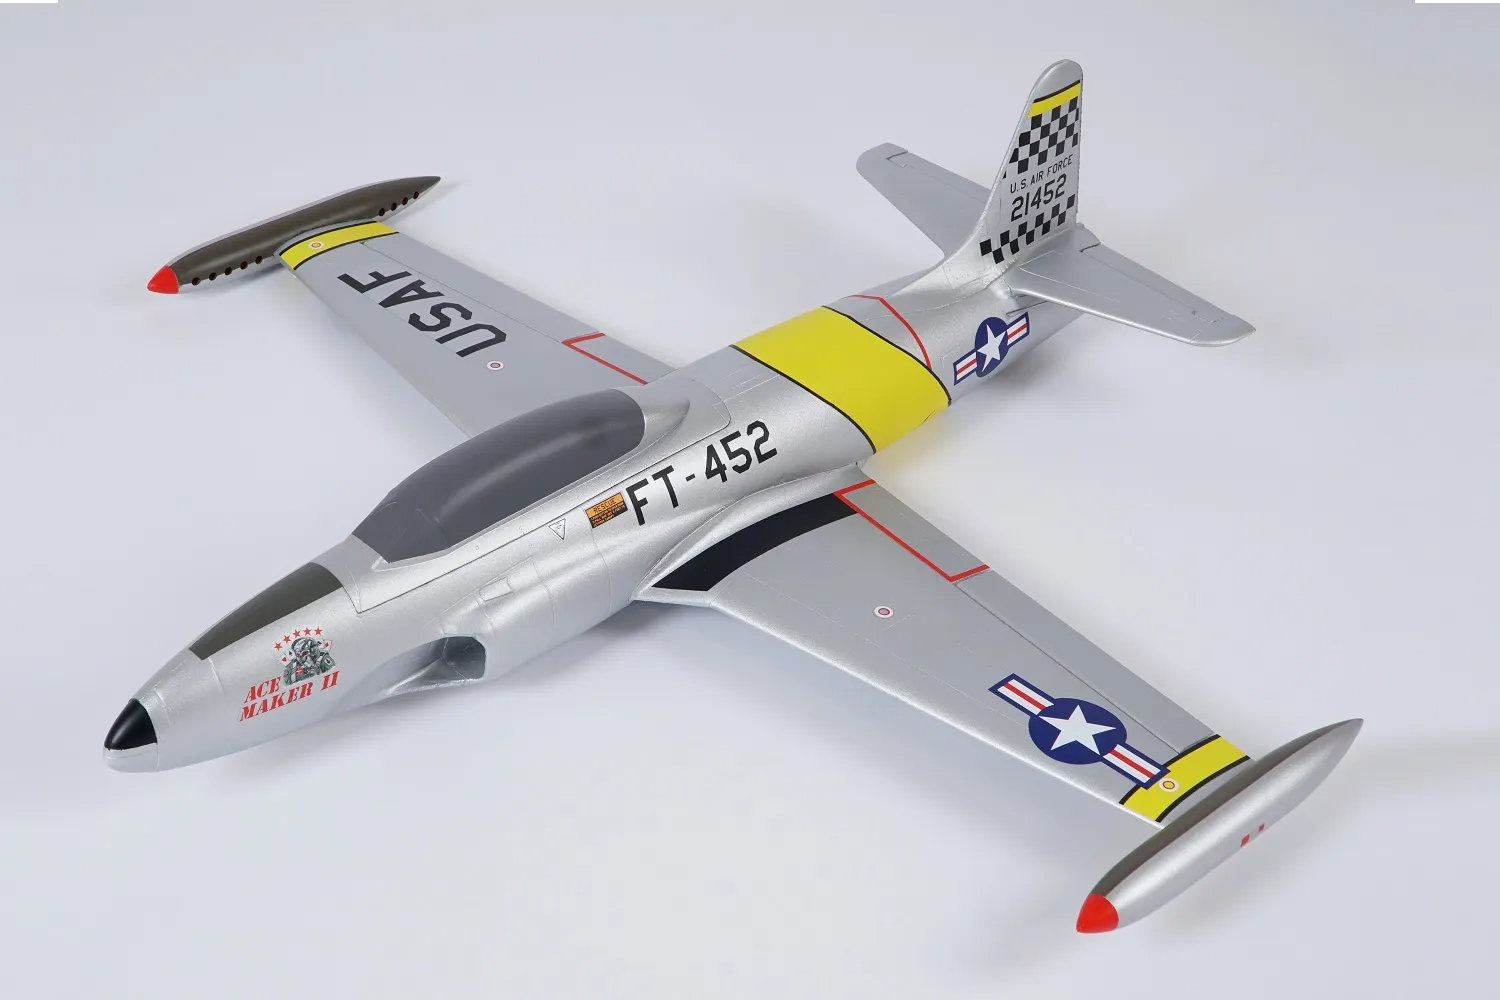
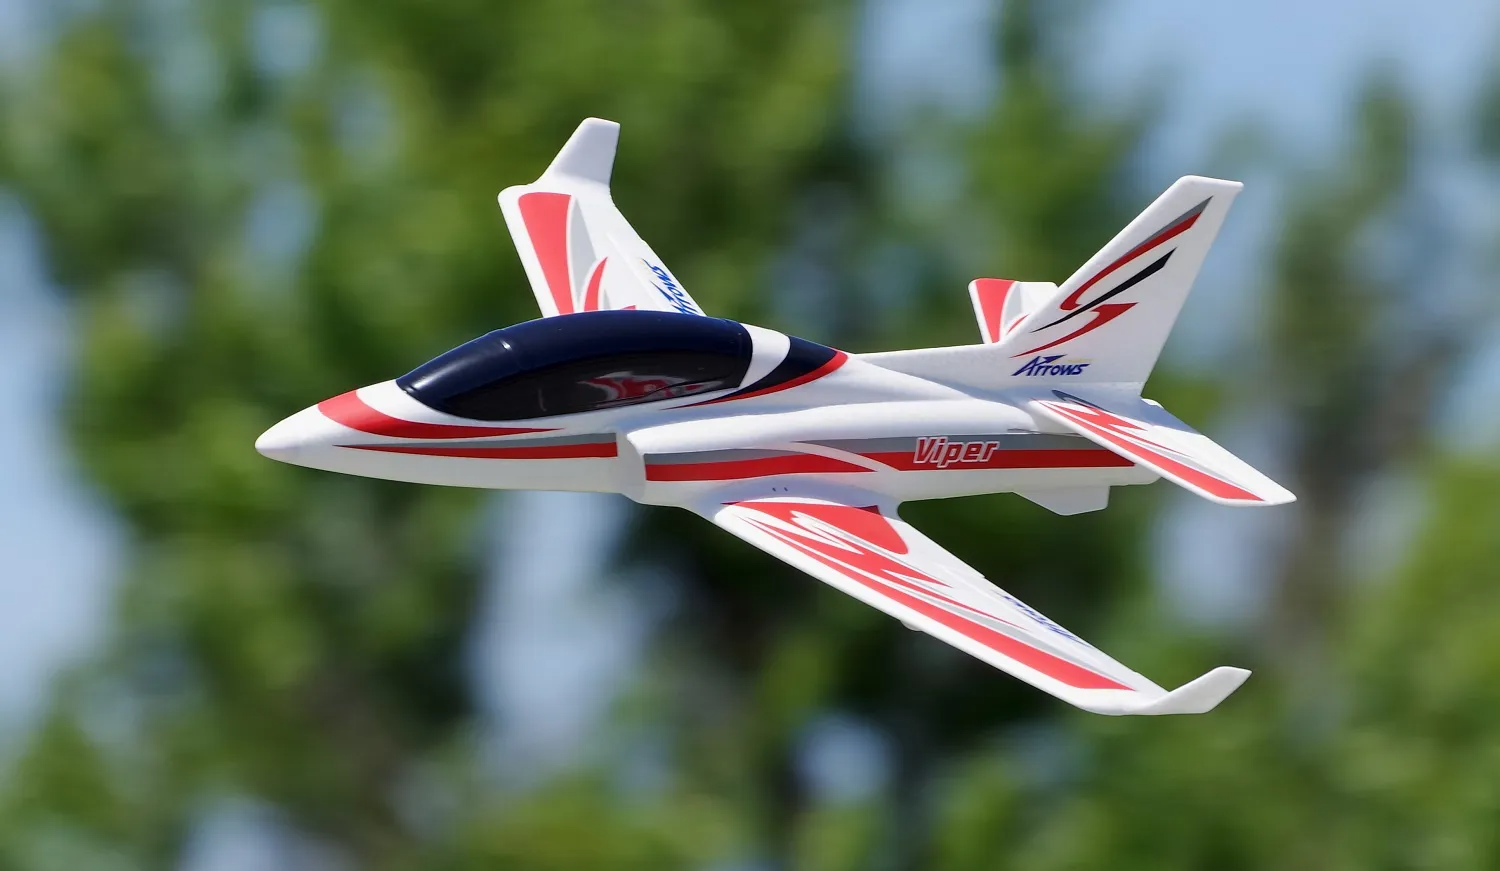
How do you get pinnacle performance on a small budget? Let Arrows work its magic with the 50mm T-33!
The Edge 540 is a high-performance aerobatic aircraft popular in aerobatic competitions and airshows.
Designed from the ground-up as a beginner-friendly aircraft, the Arrows Tecnam-2010 is easy to build and easy to fly.
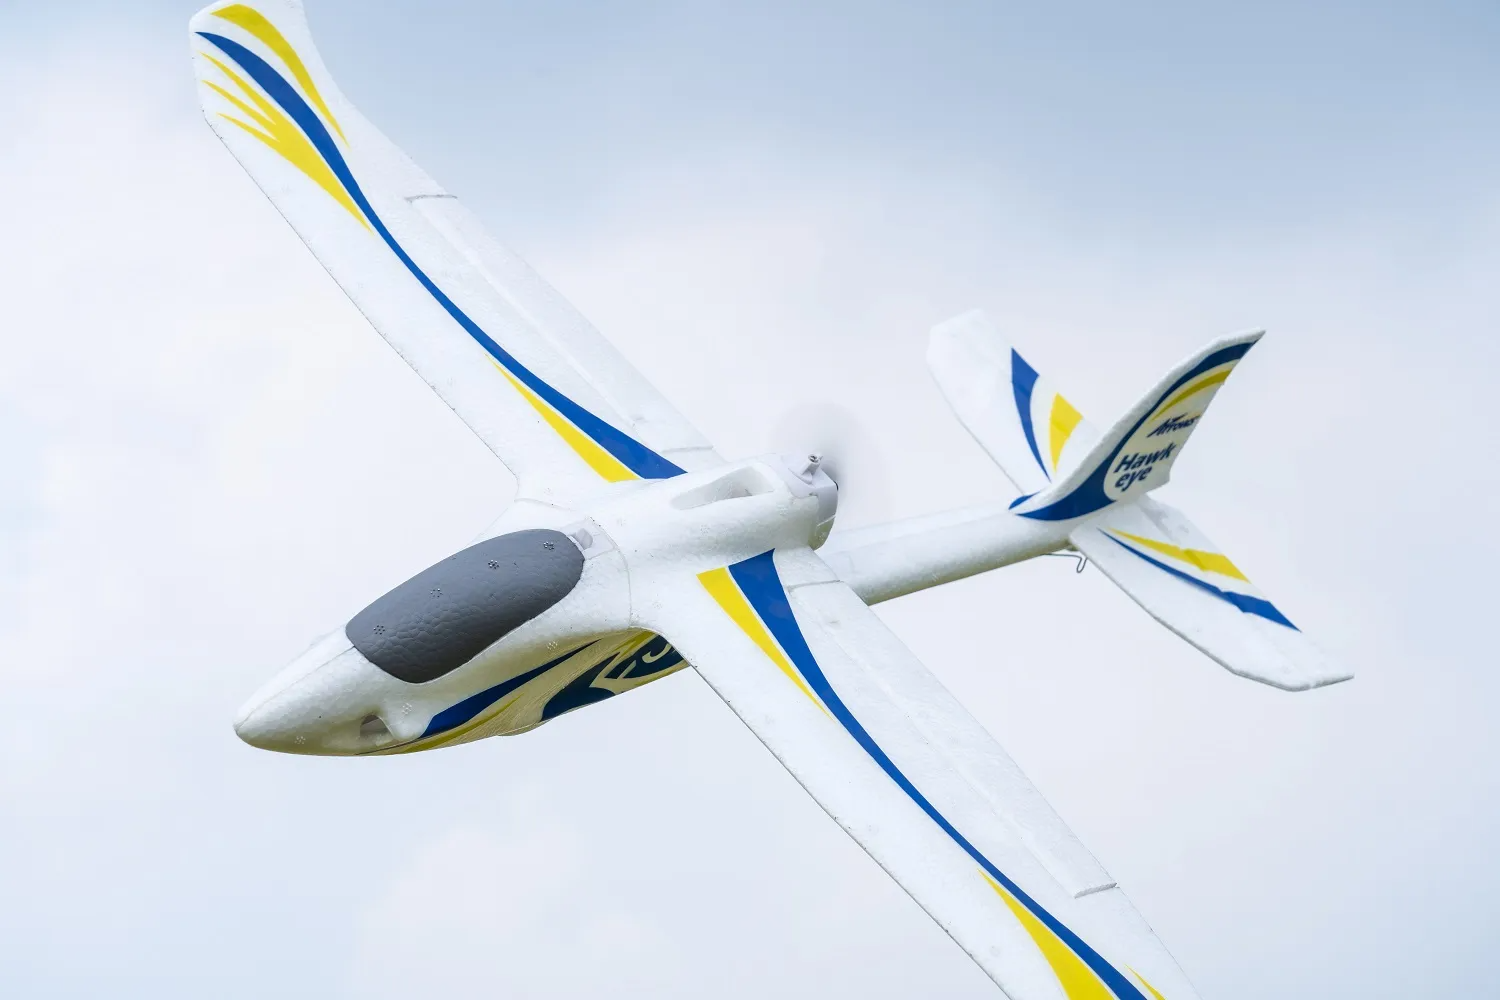
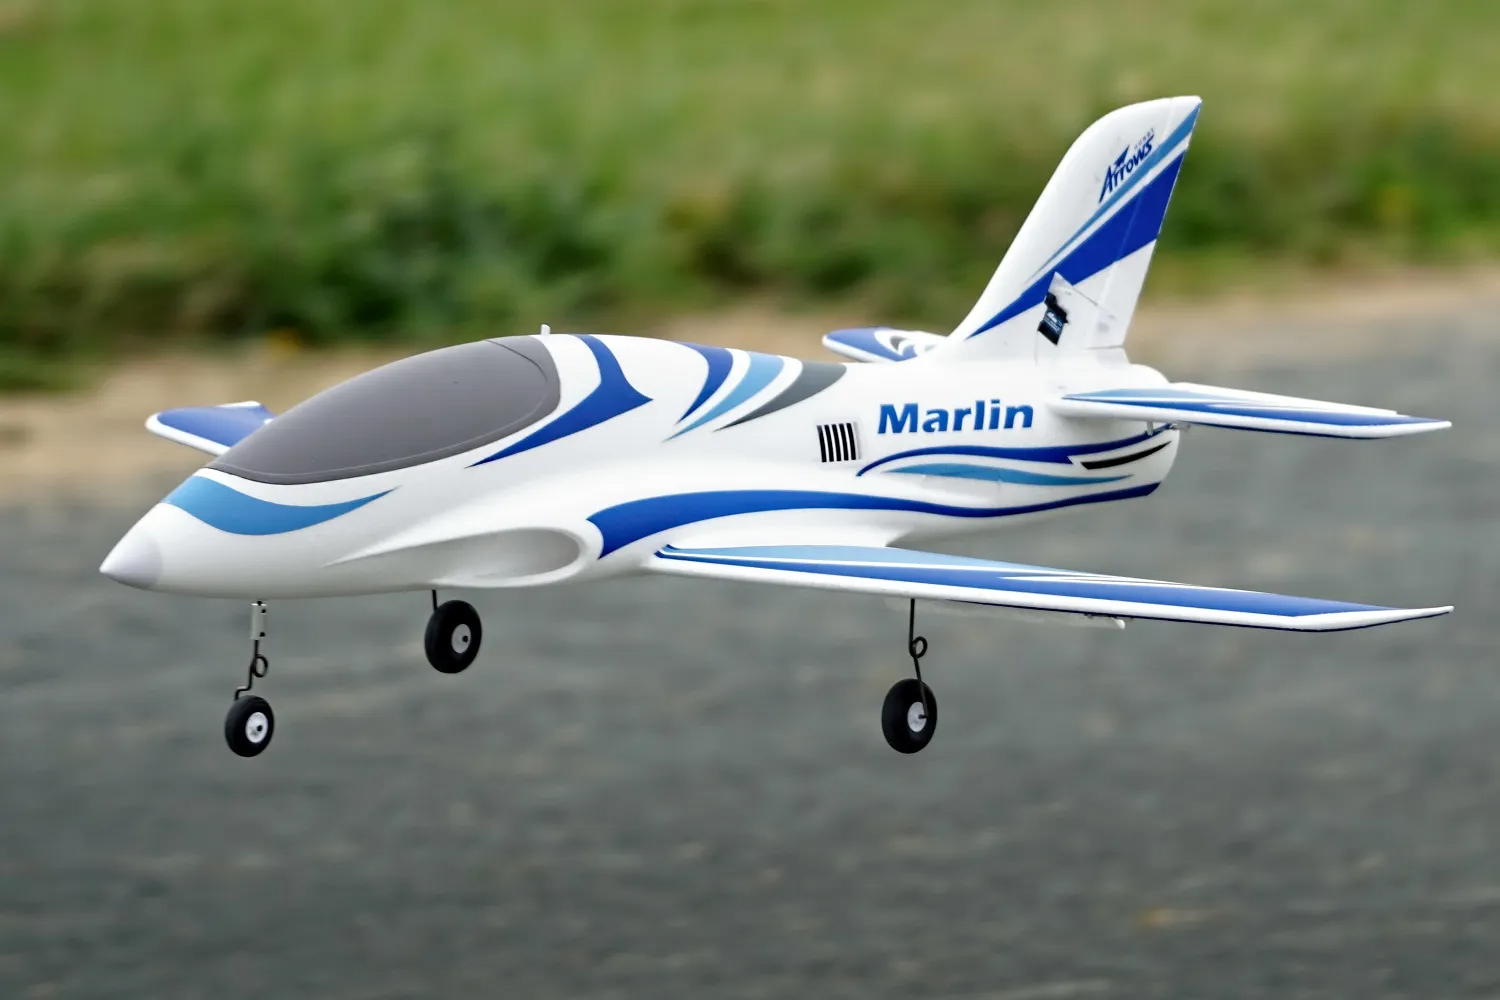
Arrows RC, after the success of trainers, warbirds, and jets, now brings you gliders.


.jpeg?w=1000&h=750)
.jpeg?w=1000&h=750)


.png?w=1500&h=887)
.png?w=1500&h=1000)
.png?w=1260&h=1080)
.png?w=1793&h=1080)
.png?w=1500&h=944)